Reviewed: 1 October 2026.
A small exhibition booth works best when you give it one primary job: demonstrate a product, display a focused range or start a useful sales conversation. Choose that job before ordering furniture or approving graphics. A limited footprint makes priorities more important; it does not guarantee either a poor or a successful event.
Use this guide to compare layout ideas, prepare a builder brief and check what fits your actual plot. The dimensions below are illustrative planning examples, not approved layouts or claims about completed Adam Expo Stand projects.
Small exhibition booth ideas at a glance
| Main objective | Design idea | What to check |
|---|---|---|
| Product demonstration | One demo point with a clear visitor route | Operator space, services and waiting visitors |
| Sample browsing | Focused wall or counter displays | Product dimensions, reach and viewing distance |
| Buyer conversations | Compact meeting furniture set back from the aisle | Staff, visitor movement and noise |
| Several events | Reusable components with replaceable graphics | Future plots, storage, repair and transport |
Plan the footprint before choosing the furniture
A 3 × 3 metre plot provides 9 square metres; a 3 × 2 metre plot provides 6. That is the gross plot area. Walls, furniture, equipment and storage reduce the space available for people.
Draw every item to scale and mark the open sides, neighbouring stands, entrances and service connections. Include the staff and visitors expected to use each activity. Check the current organiser manual and applicable access requirements before treating a plan as buildable.
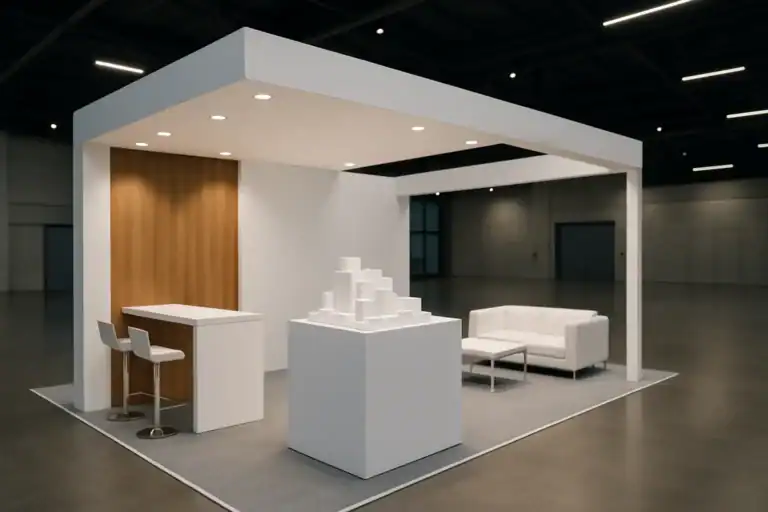
Illustrative 3 × 3 metre, one-open-side approach
Start with a clear rear-wall message, one selected product or demo point and a compact counter with storage. Keep the entrance open. Add meeting furniture only if the scaled plan leaves a workable route and sufficient space for the intended discussion.
Illustrative 3 × 2 metre, two-open-side approach
Consider a rear display and a small conversation point away from the corner entrance. Avoid filling both open sides with counters: the second open side can help visitors see and approach the product. Check the actual orientation and neighbouring stands rather than copying a generic corner plan.
Neither example sets approved aisle widths, occupancies or construction heights. Your builder must check the event-specific requirements.
1. Show a focused product range
Select products that support the event objective. Record their dimensions, weight, handling and demonstration needs. Use digital or printed information for the rest of the range rather than bringing more samples than the space can support.
Display height should serve the buyer’s viewing or handling task. Keep important labels visible when visitors stand at the counter. Ask how products are fixed, illuminated and secured, and who supplies those fittings.
2. Use storage furniture with a clear purpose
A counter with an agreed storage compartment can keep brochures, personal items and demo accessories off display surfaces. Check its actual capacity and door-opening clearance. A unit that combines several functions still needs to work for each one.
Plan where empty packaging, spare stock and staff belongings go. If off-stand storage is needed, include its location, access and cost in the event plan. Do not use visitor circulation space as a packing area.
3. Keep the entrance and visitor route clear
Position the welcome point so staff can speak with visitors without forming a barrier across the entrance. Test what happens when a demonstration is running and another visitor wants to browse.
Consider queueing, seated conversations and any movement needed to access storage. Plan your staffing around the usable space. A larger team can make a small stand feel crowded rather than improve service.
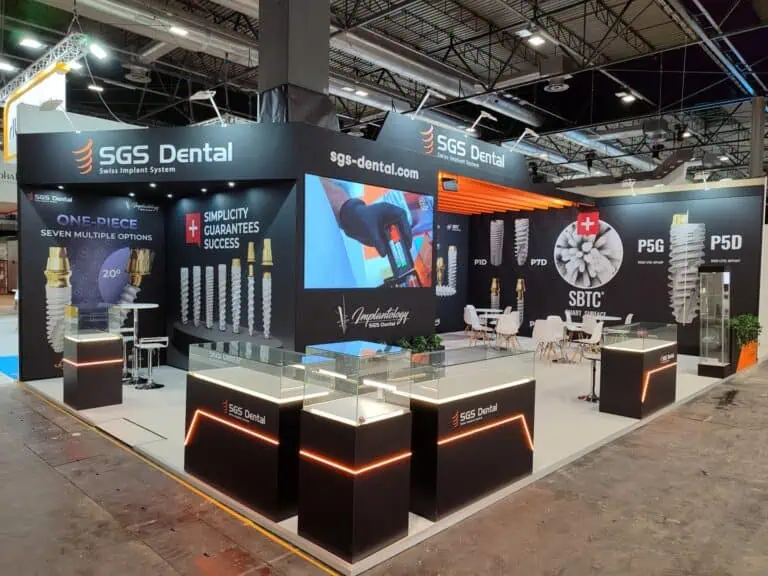
The SGS Dental case study illustrates separating displays, demonstrations and meetings. It is an activity-zoning example, not evidence that the project had a small footprint.
4. Make the graphics readable from the aisle
Give the company name, offer and main product a clear hierarchy. Review artwork from the expected visitor direction and at its intended distance. Keep essential text away from panel joints, shelves and areas people will block.
Vertical graphics can improve visibility only within permitted heights and sightline rules. Confirm the requirements before commissioning tall structures or suspended signs. Avoid adding several freestanding banners when one wall graphic would do the job.
5. Specify lighting and technology together
Choose lighting to make the product and message visible, then check glare, cable routes and the electrical scope. Confirm who orders venue power and who installs the approved connections. Extra power strips are not a substitute for a checked service plan.
A tablet or compact screen may help with product comparisons or demonstrations. Test the exact equipment, connectors and files before travel, and keep essential material available offline. Make QR links readable on a phone and test the final printed artwork.
Use an interactive feature only if it helps the visitor’s task and fits the operating space. Our interactive booth guide helps compare options.
6. Compare rental, modular and custom solutions fairly
A small stand can use a rental structure, a modular system or a custom design. Compare them against the same display and meeting requirements. Ask what is supplied, what your team must provide and how each solution is installed and removed.
For several events, compare total costs including graphics, transport, storage, repair and reinstallation. Reuse needs a practical plan; it does not automatically establish a lower cost or carbon footprint. The Alphacan case study offers a programme-planning example without quantified savings.
Review our modular stand service and rental options, then request a comparable written scope.
Use the European exhibition stand budget guide to separate stand construction from floor-space rental, organiser services and your team’s costs. Compare written quotations for the same product display, graphics, storage, installation and removal scope.
7. Prepare staff and follow-up before the show
Agree who welcomes visitors, runs demonstrations and records next steps. Keep a short brief covering the main offer, useful buyer questions and the approved lead-recording process.
Measure qualified conversations, booked meetings and proposals separately from scans and giveaway distribution. Record follow-up ownership and timing. A compact stand should support the process your team can actually deliver.
What to include in your small-booth quotation brief
- Event, venue, dates, floor plan and exact plot dimensions.
- Open sides, neighbouring stands and organiser instructions.
- Main objective, product list and demonstration requirements.
- Staff numbers, meeting needs and storage quantities.
- Brand files, graphics languages and artwork approval owner.
- Budget range and required delivery dates.
- Furniture, lighting, AV, venue services and responsibility for each item.
- Transport, installation, dismantling, reuse and VAT treatment.
Use the exhibitor materials checklist and indicative cost calculator for planning. Then send your brief to Adam Expo Stand for a project-specific proposal.
Follow our exhibition planning guides
Choose Adam Expo Stand as a preferred source to help you find our exhibition guides and updates on Google.
Add as a preferred source on GoogleGoogle may ask you to sign in and confirm your choice.