

How to build custom stands for impactful trade shows
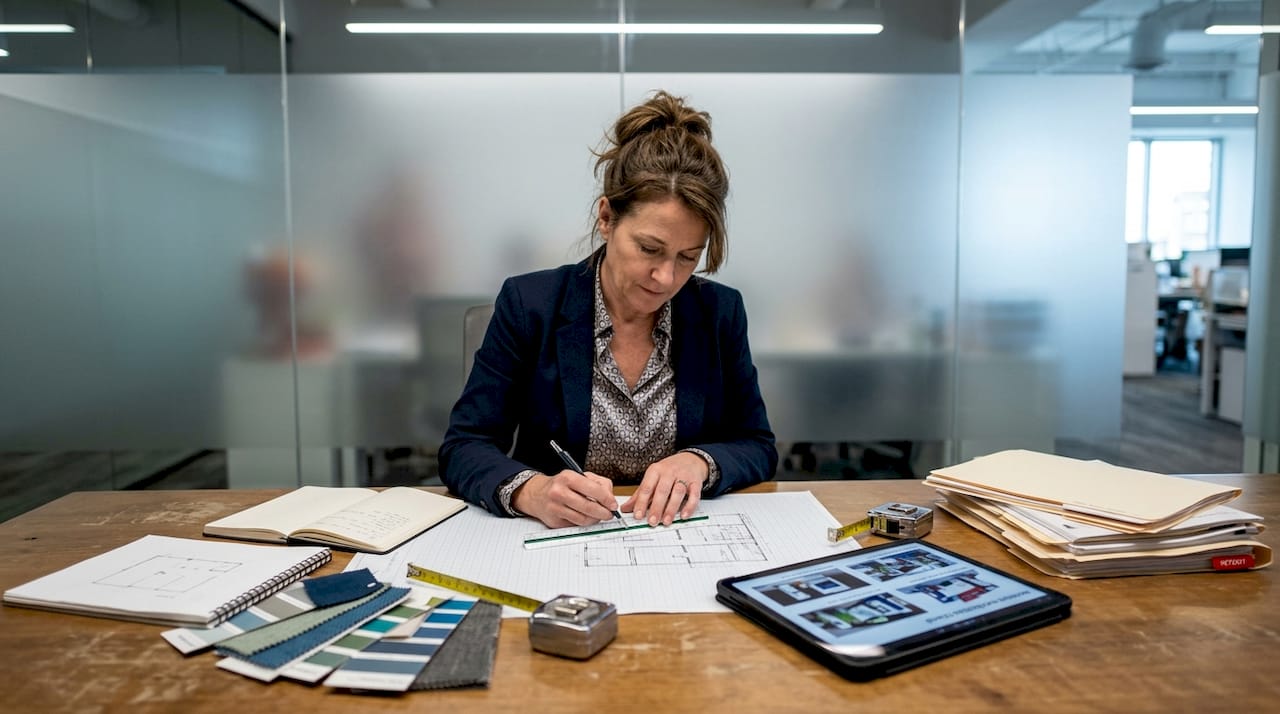
You’ve invested thousands in a prime trade show booth location, but your standard exhibition stand blends into the background while competitors with striking custom designs capture all the attention and leads. Marketing and event managers know that custom exhibition stand design can make or break your trade show ROI, yet many struggle with where to start when building a stand that truly converts. This guide walks you through the essential steps to create custom exhibition stands that maximize lead generation, enhance brand visibility, and deliver measurable results at European trade shows.
Table of Contents
- Key takeaways
- Understanding your goals and trade show requirements
- Selecting materials and design elements for maximum impact
- Step-by-step construction and setup process
- Enhancing engagement with technology and gamification
- Discover custom exhibition stand solutions with Adam Expo
- FAQ
Key Takeaways
| Point | Details |
|---|---|
| Lead generation impact | Custom stands can significantly increase qualified leads and ROI when aligned with goals and visitor flow. |
| European compliance | Request exhibitor manuals early, create country specific compliance checklists, and comply with fire safety, height, and material requirements. |
| Modular versus custom | Assess booth frequency and budget to decide between modular systems, full custom design, or a hybrid approach. |
| Design pillars | Follow visual anchor, open flow, guided spatial journey, staff zones, and a bold entry to maximize attention and dwell time. |
Understanding your goals and trade show requirements
Before sketching your first design concept, you need crystal clear objectives. Are you prioritizing lead volume, brand awareness, product demonstrations, or partnership meetings? Each goal shapes different design decisions. A lead generation focus demands open spaces with multiple engagement zones, while product launches require dramatic focal points and controlled viewing areas.
European trade shows operate under strict regulations that vary by country and venue. Fire retardant materials rated B1 or B-s1,d0, maximum heights of 3-4 meters, and submission deadlines of 6-8 weeks are standard requirements across most venues, with Germany enforcing the strictest approval processes. Missing these deadlines or using non-compliant materials can result in last-minute rejections that derail your entire event strategy.
Start by requesting the exhibitor manual from your target venue at least three months before the show. This document outlines specific restrictions on stand height, structural loads, electrical requirements, and material certifications. You’ll also discover venue-specific quirks like mandatory carpet padding, prohibited fastening methods, or required insurance certificates that can surprise first-time exhibitors.
Pro Tip: Create a compliance checklist for each European country where you exhibit regularly. Germany, France, and Italy have notably different fire safety standards and documentation requirements that can’t be assumed from one venue to the next.
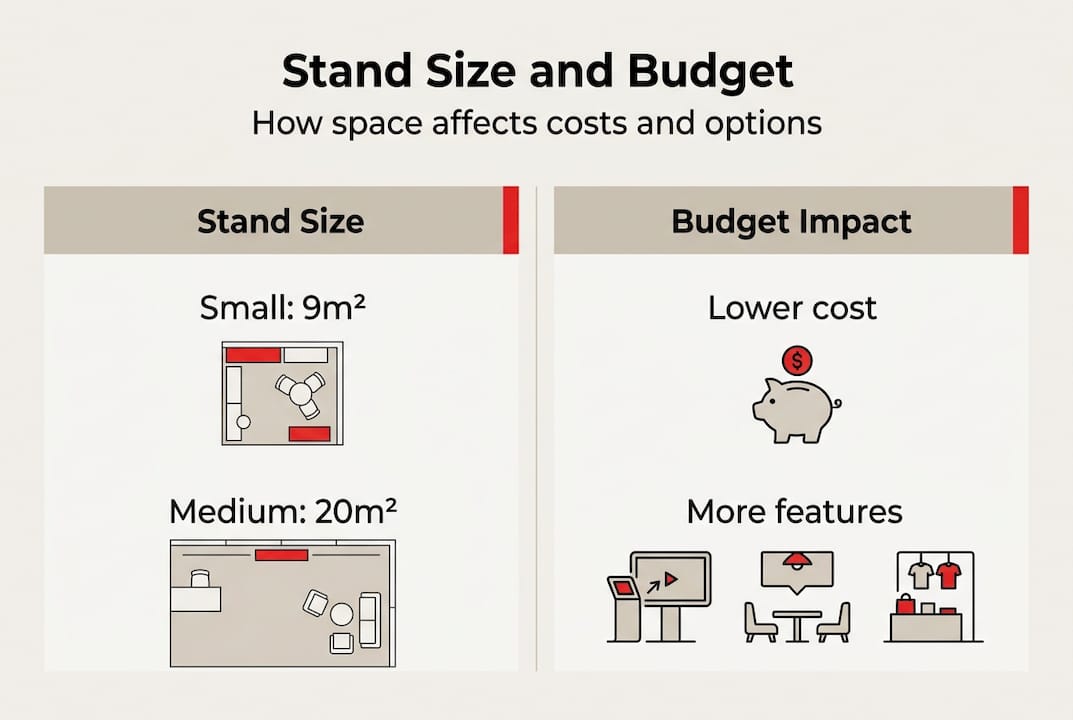
Your stand size directly impacts both budget and design possibilities. A 20 square meter space offers enough room for a reception counter, two product displays, and a small meeting area. Doubling to 40 square meters opens opportunities for immersive brand experiences, multiple engagement zones, and private consultation spaces. Calculate your expected visitor volume and staff needs before committing to a size, remembering that cramped spaces reduce dwell time while excessive space dilutes your visual impact.
Selecting materials and design elements for maximum impact
Material selection balances aesthetics, durability, compliance, and budget. Fire-retardant fabrics, aluminum frames, and treated wood panels form the foundation of most European exhibition stands. These materials meet safety codes while offering design flexibility. Lightweight aluminum extrusions enable complex structures that assemble quickly onsite, while tension fabric graphics deliver vibrant visuals at lower shipping costs than rigid panels.
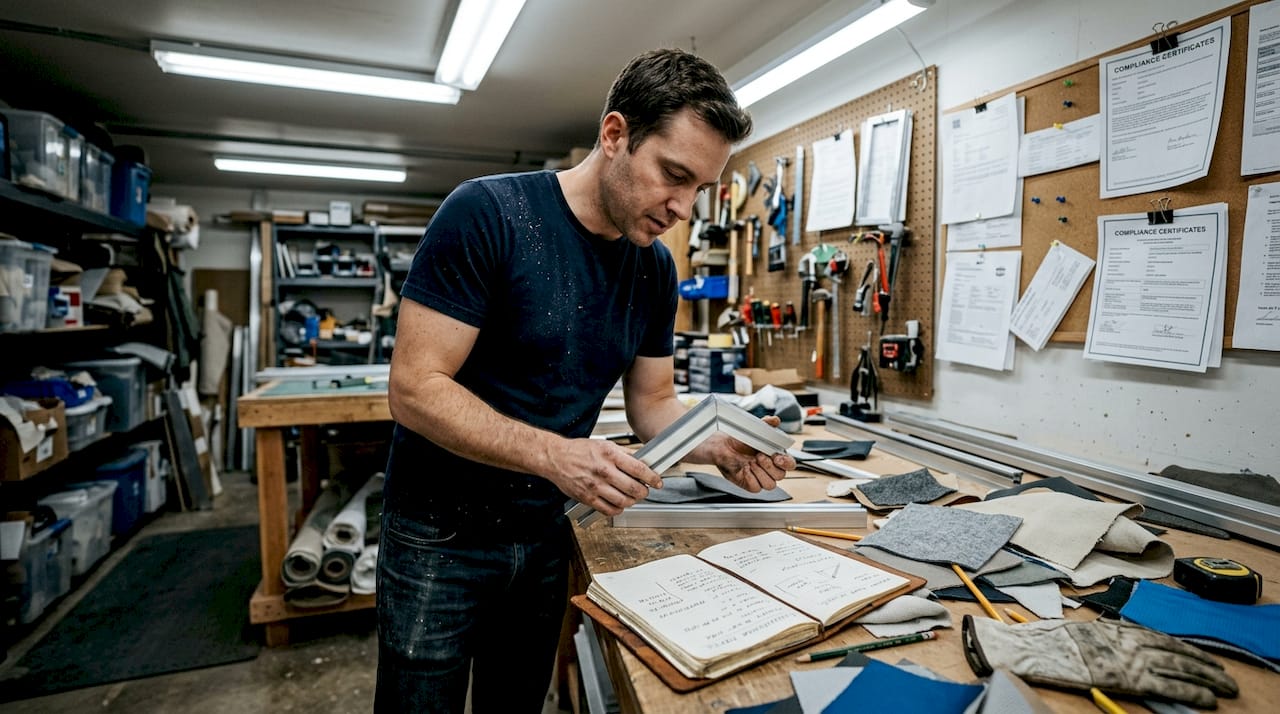
The modular versus custom decision hinges on your exhibition frequency and brand differentiation needs. Modular systems use standardized components that reconfigure for different booth sizes and layouts, offering significant cost savings when exhibiting three or more times annually. Custom stands provide unlimited design freedom and stronger brand impact but require higher initial investment. Many exhibitors find a hybrid approach works best, using modular structural frames with custom graphics and branded elements.
Effective custom stands follow five core design pillars: a visual anchor that draws attention from 15 meters away, open flow patterns that increase dwell time by 30%, a spatial journey guiding visitors through key messages, efficient staff workflow zones, and a bold entry point that signals approachability. These principles transform random booth visitors into engaged prospects who remember your brand long after the show ends.
Visitor flow planning prevents bottlenecks and creates natural conversation opportunities. Position your most compelling visual element at the back of your stand to draw people fully inside rather than clustering at the entrance. Create clear pathways at least 1.2 meters wide that allow traffic to circulate without disrupting ongoing conversations. Designate specific zones for different activities like product demos, casual browsing, and serious sales discussions so staff can manage multiple visitors simultaneously.
Pro Tip: Use 3D modeling software or work with designers who provide detailed CAD visualizations before construction begins. Virtual walkthroughs reveal spacing issues, sightline problems, and lighting challenges that cost far more to fix onsite than in the digital planning phase.
Lighting deserves special attention in material planning. LED spotlights highlighting key products, backlit graphics creating depth, and ambient lighting establishing mood all require electrical planning during the design phase. European venues charge premium rates for electrical connections, so design efficient lighting schemes that maximize impact while minimizing power draw. Battery-powered LED strips and rechargeable accent lights offer flexibility without expensive electrical hookups.
Step-by-step construction and setup process
Successful custom stand construction follows a structured timeline that prevents costly mistakes. Begin with design approval submissions 8-10 weeks before your event. This buffer accommodates revision requests from venue organizers and gives your builder adequate production time. Rush orders not only cost more but increase error rates that compromise quality.
Pre-build preparation includes finalizing all graphic files, confirming material certifications, and scheduling logistics. Your builder should provide material safety data sheets and fire certificates for every component used in your stand. Arrange shipping to arrive at least two days before your setup slot begins, accounting for potential customs delays when crossing European borders. Missing setup windows due to late deliveries often means paying premium rates for after-hours installation.
Onsite assembly typically spans one to three days depending on stand complexity. Professional installation teams work from detailed assembly drawings that specify every connection point and component placement. Modular stands require 40-60% less setup time than fully custom structures, making them ideal when setup windows are tight. Coordinate closely with your installer to schedule graphics application, lighting tests, and technology integration at optimal points in the build sequence.
Testing everything before the show floor opens prevents embarrassing failures. Check that all lighting functions properly, graphics hang straight without wrinkles, flooring lies flat without trip hazards, and technology systems connect reliably to venue WiFi or cellular networks. Walk through your stand from multiple approach angles to verify sightlines work as intended and nothing blocks your key visual elements.
Pro Tip: Document your stand setup with photos and videos during installation. This visual record helps troubleshoot issues at future shows and trains new team members on proper assembly procedures.
Cost planning for custom stands requires understanding both initial investment and multi-show economics. A custom stand for a 20 square meter space typically costs €8,000 to €18,000 for the first event, while modular options range from €4,000 to €9,000 initially but drop to €1,500 to €3,000 for reuse at subsequent shows. Calculate your break-even point by dividing total custom costs by the number of shows you plan to attend over three years.
| Stand Type | First Show Cost | Subsequent Shows | Break-Even Point |
|---|---|---|---|
| Full Custom (20m²) | €12,000-€18,000 | €8,000-€12,000 | 1-2 shows |
| Modular System (20m²) | €4,000-€9,000 | €1,500-€3,000 | 3-5 shows |
| Hybrid Approach (20m²) | €7,000-€12,000 | €3,000-€6,000 | 2-4 shows |
Enhancing engagement with technology and gamification
Technology integration transforms passive viewing into active participation that generates qualified leads. Interactive touchscreens displaying product configurators, virtual reality experiences showcasing solutions in customer environments, augmented reality apps overlaying information on physical products, and gamification elements rewarding engagement all extend visitor dwell time while capturing valuable contact information and preference data.
The data supporting gamification in exhibition stands is compelling. Trade shows incorporating game mechanics see dwell time increase by 63%, lead capture rates jump 2.4 times higher, and cost per lead drop by 18-27% compared to traditional static displays. These improvements stem from gamification’s ability to break down visitor hesitation, create memorable brand interactions, and provide natural conversation starters for booth staff.
Effective gamification doesn’t require massive budgets or complex technology. Simple prize wheel spins tied to product knowledge questions, digital scavenger hunts guiding visitors through your stand’s key features, leaderboards tracking challenge completion, or augmented reality photo opportunities with branded elements all deliver engagement without overwhelming costs. The key is aligning game mechanics with your core marketing messages so entertainment reinforces rather than distracts from your value proposition.
Integrating technology into custom stands that convert requires planning electrical and internet connectivity during the design phase. Ensure adequate power capacity for all devices, backup battery systems for critical demonstrations, and reliable internet connections through hardwired venue ethernet rather than depending solely on congested WiFi networks. Position screens and interactive elements at comfortable viewing heights and angles that accommodate multiple simultaneous users.
Pro Tip: Staff training on technology elements is as important as the technology itself. Team members should confidently demonstrate every interactive feature, troubleshoot common issues, and smoothly transition from digital engagement to sales conversations without awkward pauses or technical fumbling.
Balancing technology with human interaction prevents your stand from becoming an unmanned arcade. Use technology to attract and qualify visitors, but ensure staff members are positioned to observe engagement signals and intervene at optimal moments. A visitor who completes your product configurator or scores high on your knowledge quiz has demonstrated genuine interest and deserves immediate personal attention from your best salespeople.
| Engagement Method | Average Dwell Time | Lead Capture Rate | Cost Per Lead |
|---|---|---|---|
| Static displays only | 2.3 minutes | 12% | €47 |
| Interactive screens | 3.8 minutes | 24% | €34 |
| Gamification elements | 6.2 minutes | 41% | €28 |
| Full VR/AR experiences | 8.1 minutes | 38% | €31 |
Discover custom exhibition stand solutions with Adam Expo
Building a custom exhibition stand that delivers measurable results requires expertise in design, compliance, construction, and logistics across diverse European markets. Adam Expo Stand specializes in creating tailored custom and modular exhibition solutions that maximize your trade show ROI while navigating the complex regulatory landscape of European venues. Our team provides comprehensive support from initial concept development through 3D visualization, material selection, compliance documentation, construction, onsite installation, and post-show storage or modifications. Whether you’re exhibiting at a single flagship event or managing a multi-country trade show calendar, our sustainable materials, innovative designs, and turnkey service model ensure your brand stands out and captures qualified leads at every show.
FAQ
What is the average cost of building a custom exhibition stand?
Custom exhibition stands typically range from €8,000 to €18,000 for a 20 square meter space, depending on design complexity, materials, and technology integration. Modular systems offer lower initial costs of €4,000 to €9,000 but may sacrifice some design uniqueness. Over multiple events, modular reuse costs drop to €1,500 to €3,000 per show, making them more economical for frequent exhibitors while custom stands maintain higher per-event costs but deliver stronger brand differentiation.
How far in advance should I submit my custom stand design for approval in Europe?
Most European trade show venues require custom stand design submissions 6 to 8 weeks before the event start date to allow time for compliance review and any necessary revisions. Germany enforces the strictest approval processes, often requiring additional documentation and longer review periods. Missing these deadlines can result in stand rejection, forcing you to use standard shell schemes or pay premium fees for expedited approvals that may still face restrictions.
What are the benefits of using gamification in a custom exhibition stand?
Gamification delivers measurable improvements in visitor engagement and lead quality. Stands incorporating game mechanics experience 63% longer dwell times, 2.4 times higher lead capture rates, and 18-27% lower cost per lead compared to traditional static displays. These benefits stem from gamification’s ability to break down visitor hesitation, create memorable brand interactions, and provide natural opportunities for staff to transition from entertainment to sales conversations with pre-qualified prospects.
Can I reuse a custom exhibition stand at multiple trade shows?
Custom stands can be reused, but design flexibility varies based on construction methods. Stands built with modular frameworks and interchangeable panels adapt easily to different booth sizes and layouts across multiple venues. Fully custom structures designed for specific dimensions may require modifications or complete rebuilds when moving to different sized spaces. Planning for reuse during initial design by using standardized dimensions and modular components maximizes your investment while maintaining custom aesthetics.
What materials meet European fire safety standards for exhibition stands?
European venues require materials certified as fire retardant to B1 or B-s1,d0 standards, which indicate limited flammability and smoke production. Acceptable materials include treated wood panels, aluminum structural components, fire-rated fabrics and graphics, and certified plastic elements. Your stand builder must provide material safety data sheets and fire certificates for every component. Non-compliant materials discovered during venue inspection result in stand rejection and potential liability for fire code violations.


